
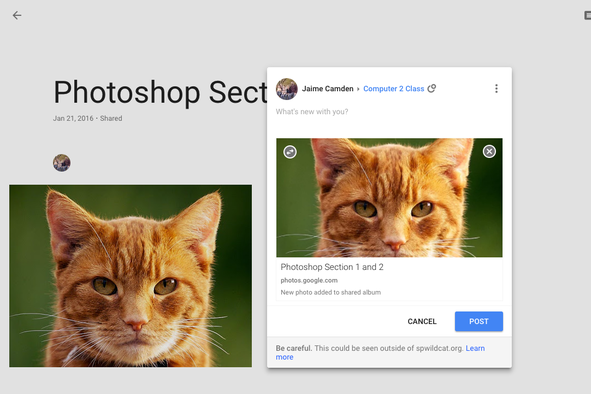
Create a Circle on Google+ for Computer 2. Make sure you include me! Upload completed photo's Google Photo's Album and share on Google + with our circle. You will organize your photo's into sections creating an album for each one.
Edit the details of each photo to contain the section # and describe elements you applied.
Make sure you include all original photos when you are creating or combining images.
Check the rubric to make sure you are following all criteria.
Photoshop Section 1 and 2 Album (12 Total)
1.2.1 - Faded Sepia Tone - 2 edits and 2 originals (sample image is lion)
1.2.2 - Partial Black and White - 2 edits and 2 originals (sample image is rocks and sky)
1.2.4 - Quick Fix Editing (3196) No Assignment
1.2.5 - Layer Mask - 2 edits and 2 originals (sample image is frozen berries)
2.2.3 - Rotating Images - no assignment
________________________________________________________________________________
Section 3 and 4 Album (54 Total)
3.1.2-3.1.5 - On Your Own - No Assignment (Skip 3.1.1 about organizer)
3.3.1 - Quick Fix Editing - Image 5964- No assignment
3.3.2 - 4607 and 1931_1 - No Assignment
3.3.3 - IMG 4157 Leaves - No Assignment
3.3.4 - Color and Balance Sliders - 2 of your own and describe changes one has to use the selection tool(sample images are _1325 _3775 berries and boy) (4 uploads)
3.3.5 - Teeth Whitening -2 (sample is _1524) (4 uploads)
3.3.6 - Dull Skies Blue - 1 (sample is _4330 and 4334)(2 uploads)
3.3.7 - Black and White High Contrast Tool - 2 (Sample is Orangerose) tell me the filter you used for both edited images (4 uploads total)
3.3.10 - Fun Edits 7 Total (13 total upload with originals - not including your original photo for pop-art)
4.1.1/4.1.2 - Crop and Straighten -Rocky Beach, Grand Canyon Sunrise and Florence - 2 practice photo's only, UPLOAD Rocky Beach and Grand Canyon only. No original or Florence
4.2.1 - Removing Noise (carblur) On Your Own No Assignment
4.2.2 - Removing Color Cast (Sample is prague.jpg) Upload practice image (1 upload)
4.2.3 - Correcting Skin Tone (Newyorkportrait) - No assignment
4.2.4 - Enhancing Color w Hue and Saturation Adjustments - 1 edit (sample is purpleflowers) Use eyedropper tool. (2 uploads total)
4.2.5 - Balancing Contrast and Color w Levels Adjustments - No assignment (sample is Buoys)
4.2.6 - Correcting Light and Dark - No assignment (sample is palousefalls)
4.2.7 - Color Curves - No assignment (sample is bamboo)
4.2.8 - Converting Black and White - 1 edit (Sample is abandonedfarmhouse)
4.2.9 - Sepia Photo - 1 edit (sample is artichokes)
4.3.1 - Red Eye Removal - 1 edit (Sample is nightportrait.jpg)
4.3.2 - Cloning to Remove Contents - 2 images - one of your choice (DO NOT remove the entire subject from and image to leave a blank background) and remove the child from this photo (backup file) - Hint: try using different types of brushes/opacity level and use a CLEANUP LAYER!!! Square brushes for the lines on the wall. (sample is removing children from water on beach) (4 uploads)
______________________________________________________________________________
4.3.3 - Content Aware Healing - 2 edits - one image similar to the example where you remove letters from the building, blocks, dice, sign etc. (City Hall - spot healing brush) and one using the healing brush (face) to fix complexion on a person - make sure you provide details for each edit (4 uploads)
4.3.4 - Using the Recompose Tool - upload completed sample image of Birds over Piazza (1 upload)
4.3.5 - Correcting Camera Distortion - upload completed sample image - dangling feet (1 upload)
4.3.6 - Using the Smart Brush Tool - upload completed sample image - wheat fields (1 upload)
4.3.7 - Using Photo-merge Panorama - upload completed sample image - yellow flowers in field (1 upload)
4.3.8 - Using Photo-merge Style Match - 1 - edit explain style of choice (2 uploads)
______________________________________________________________________________
Section 5 and 6 Album (21 images total)
5.1 - Entire selection - watch and follow along then create 2 edits, one where you place your own image into a place you have never been and one where to add an element from another picture. You will upload a total of 5 images - two finished edits, and backgrounds. You do not need your original image of yourself.
5.2.4 - Blended Layers with Transparency - one edit (two uploads) list your blend mode in your image detail
6.1 - Adding text - one edit - use an image you've already created or a new image and add text with one effect - list your effect in your image detail on your album (2 uploads)
6.2 - Adding a watermark - one edit- add a watermark to the selection image you created using your self-pic - make sure it is diagonal and covers your image so it would not be able to be copied. ALT 0169 (using the keypad) will create the © symbol for you (1 upload)
6.3 - Creating a photo border - one edit - use any brush and background color - CTRL SHIFT J will copy background to new layer (2 uploads)
6.4 - Using the Filter Gallery- 2 edits - describe the settings and filters you used in the caption. You need to use a minimum of 3 filters. (4 uploads)
6.5 - Adding Artwork - one edit of your choosing (sample image was baby background you do not need to upload) (2 uploads)
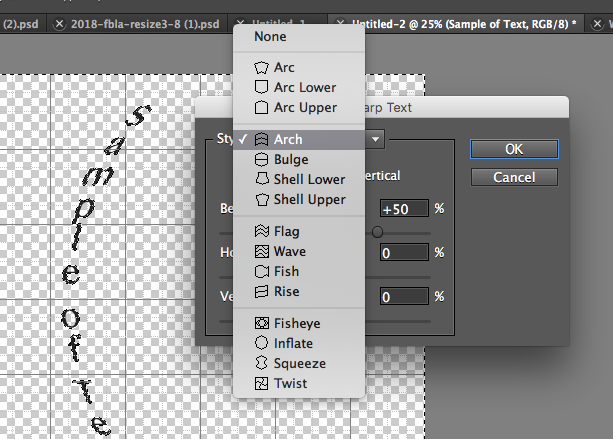
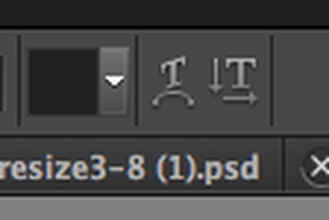
6.6 Check this page for how to create circle text and the images below for warping text - create a practice file first - Use the SP logo and create circle text around it using the school motto. OR come up with your own edit. You can install fonts from this website http://www.dafont.com/. Unzip, drap to desktop, right click and install. Close and open photoshop to get the font to show up. To increase your canvas size choose image, resize, canvas.
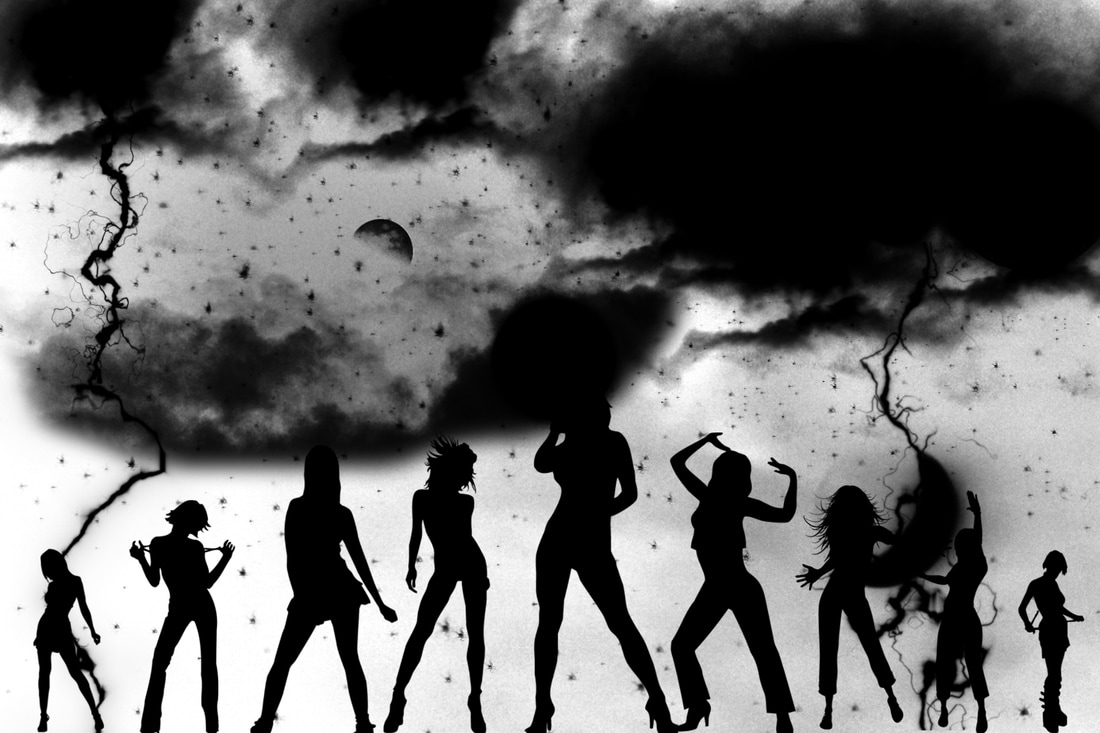
6.7 - Extra Section - Brushes - 2 edits- install brushes of your choice and create two original images you will be graded on creativity!! Second edit can be adding brushes to an existing photo, example adding lightening to a scene. (2 uploads) Please list your brush upload in the details.
Brushes Video (Back-up Link) Text Tutorial
How to Draw Unfilled Circles and Rectangles in PSE - Simply shape and change stroke. Then delete with magic eraser.
Students will search the internet to find special brushes they can download to add effects to an image. Brushking.eu has a lot of different choices. Download a brush of choice and load the new brush to create a new image. If you download a .zip file you need to right click, extract all files to your photoshop folder. A blood spatter brush is also located in the folder to demonstrate how to load a new brush. To rotate your brush click the brush icon to the far right of your menu bar and use the rotate compass tool. To flip it use the Menu>Image>Flip.
Photoshop Test
The Photoshop Effect 5:36
Edit the details of each photo to contain the section # and describe elements you applied.
Make sure you include all original photos when you are creating or combining images.
Check the rubric to make sure you are following all criteria.
Photoshop Section 1 and 2 Album (12 Total)
1.2.1 - Faded Sepia Tone - 2 edits and 2 originals (sample image is lion)
1.2.2 - Partial Black and White - 2 edits and 2 originals (sample image is rocks and sky)
1.2.4 - Quick Fix Editing (3196) No Assignment
1.2.5 - Layer Mask - 2 edits and 2 originals (sample image is frozen berries)
2.2.3 - Rotating Images - no assignment
________________________________________________________________________________
Section 3 and 4 Album (54 Total)
3.1.2-3.1.5 - On Your Own - No Assignment (Skip 3.1.1 about organizer)
3.3.1 - Quick Fix Editing - Image 5964- No assignment
3.3.2 - 4607 and 1931_1 - No Assignment
3.3.3 - IMG 4157 Leaves - No Assignment
3.3.4 - Color and Balance Sliders - 2 of your own and describe changes one has to use the selection tool(sample images are _1325 _3775 berries and boy) (4 uploads)
3.3.5 - Teeth Whitening -2 (sample is _1524) (4 uploads)
3.3.6 - Dull Skies Blue - 1 (sample is _4330 and 4334)(2 uploads)
3.3.7 - Black and White High Contrast Tool - 2 (Sample is Orangerose) tell me the filter you used for both edited images (4 uploads total)
3.3.10 - Fun Edits 7 Total (13 total upload with originals - not including your original photo for pop-art)
- Reflection-2 edits/4uploads(explain the reflection choices used) (sample is _4195edited)
- Pop-Art -2 edits/ 3 uploads, one has to be an image of yourself! but do not have to upload original
- Out of Bounds -2 edits/4uploads (watch the online tutorial)
- Perfect Portrait -1 edit/2 uploads
4.1.1/4.1.2 - Crop and Straighten -Rocky Beach, Grand Canyon Sunrise and Florence - 2 practice photo's only, UPLOAD Rocky Beach and Grand Canyon only. No original or Florence
4.2.1 - Removing Noise (carblur) On Your Own No Assignment
4.2.2 - Removing Color Cast (Sample is prague.jpg) Upload practice image (1 upload)
4.2.3 - Correcting Skin Tone (Newyorkportrait) - No assignment
4.2.4 - Enhancing Color w Hue and Saturation Adjustments - 1 edit (sample is purpleflowers) Use eyedropper tool. (2 uploads total)
4.2.5 - Balancing Contrast and Color w Levels Adjustments - No assignment (sample is Buoys)
4.2.6 - Correcting Light and Dark - No assignment (sample is palousefalls)
4.2.7 - Color Curves - No assignment (sample is bamboo)
4.2.8 - Converting Black and White - 1 edit (Sample is abandonedfarmhouse)
4.2.9 - Sepia Photo - 1 edit (sample is artichokes)
4.3.1 - Red Eye Removal - 1 edit (Sample is nightportrait.jpg)
4.3.2 - Cloning to Remove Contents - 2 images - one of your choice (DO NOT remove the entire subject from and image to leave a blank background) and remove the child from this photo (backup file) - Hint: try using different types of brushes/opacity level and use a CLEANUP LAYER!!! Square brushes for the lines on the wall. (sample is removing children from water on beach) (4 uploads)
______________________________________________________________________________
4.3.3 - Content Aware Healing - 2 edits - one image similar to the example where you remove letters from the building, blocks, dice, sign etc. (City Hall - spot healing brush) and one using the healing brush (face) to fix complexion on a person - make sure you provide details for each edit (4 uploads)
4.3.4 - Using the Recompose Tool - upload completed sample image of Birds over Piazza (1 upload)
4.3.5 - Correcting Camera Distortion - upload completed sample image - dangling feet (1 upload)
4.3.6 - Using the Smart Brush Tool - upload completed sample image - wheat fields (1 upload)
4.3.7 - Using Photo-merge Panorama - upload completed sample image - yellow flowers in field (1 upload)
4.3.8 - Using Photo-merge Style Match - 1 - edit explain style of choice (2 uploads)
______________________________________________________________________________
Section 5 and 6 Album (21 images total)
5.1 - Entire selection - watch and follow along then create 2 edits, one where you place your own image into a place you have never been and one where to add an element from another picture. You will upload a total of 5 images - two finished edits, and backgrounds. You do not need your original image of yourself.
5.2.4 - Blended Layers with Transparency - one edit (two uploads) list your blend mode in your image detail
6.1 - Adding text - one edit - use an image you've already created or a new image and add text with one effect - list your effect in your image detail on your album (2 uploads)
6.2 - Adding a watermark - one edit- add a watermark to the selection image you created using your self-pic - make sure it is diagonal and covers your image so it would not be able to be copied. ALT 0169 (using the keypad) will create the © symbol for you (1 upload)
6.3 - Creating a photo border - one edit - use any brush and background color - CTRL SHIFT J will copy background to new layer (2 uploads)
6.4 - Using the Filter Gallery- 2 edits - describe the settings and filters you used in the caption. You need to use a minimum of 3 filters. (4 uploads)
6.5 - Adding Artwork - one edit of your choosing (sample image was baby background you do not need to upload) (2 uploads)
6.6 Check this page for how to create circle text and the images below for warping text - create a practice file first - Use the SP logo and create circle text around it using the school motto. OR come up with your own edit. You can install fonts from this website http://www.dafont.com/. Unzip, drap to desktop, right click and install. Close and open photoshop to get the font to show up. To increase your canvas size choose image, resize, canvas.
6.7 - Extra Section - Brushes - 2 edits- install brushes of your choice and create two original images you will be graded on creativity!! Second edit can be adding brushes to an existing photo, example adding lightening to a scene. (2 uploads) Please list your brush upload in the details.
Brushes Video (Back-up Link) Text Tutorial
How to Draw Unfilled Circles and Rectangles in PSE - Simply shape and change stroke. Then delete with magic eraser.
Students will search the internet to find special brushes they can download to add effects to an image. Brushking.eu has a lot of different choices. Download a brush of choice and load the new brush to create a new image. If you download a .zip file you need to right click, extract all files to your photoshop folder. A blood spatter brush is also located in the folder to demonstrate how to load a new brush. To rotate your brush click the brush icon to the far right of your menu bar and use the rotate compass tool. To flip it use the Menu>Image>Flip.
Photoshop Test
The Photoshop Effect 5:36
|
|
|
